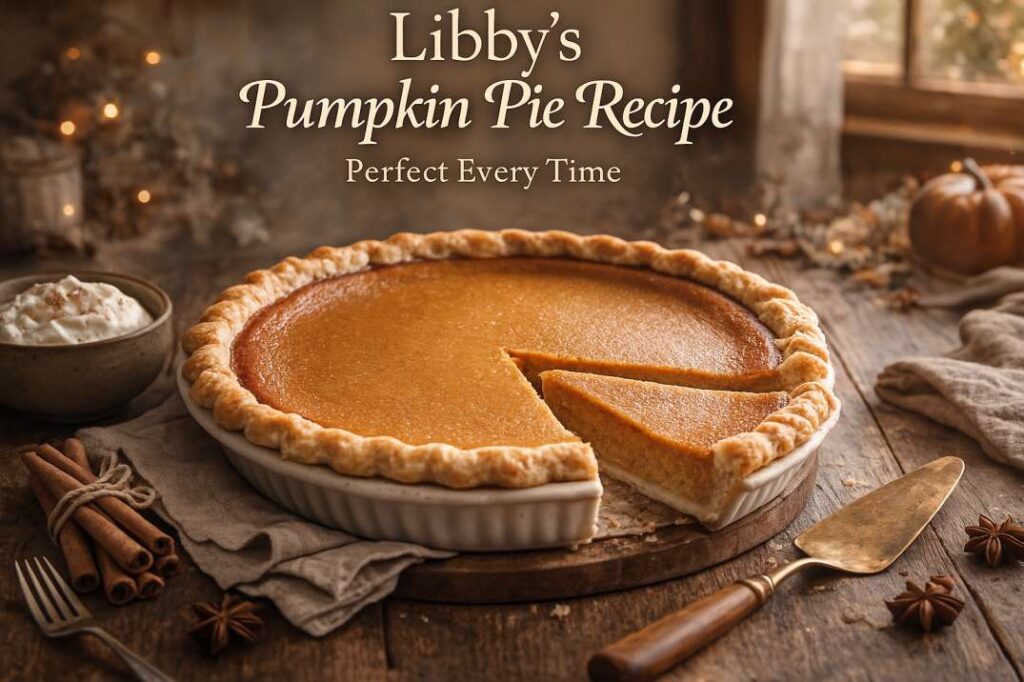
If there’s one dessert that feels like the heart of the holidays, it’s pumpkin pie. The smell of warm spices, the creamy filling, and that first perfect slice are all part of what makes Thanksgiving and Christmas feel complete. And for many families, that pie has always been made using Libby’s pumpkin pie recipe.
This is the recipe that shows up year after year — written on the back of the can, passed down in handwritten cards, and trusted by home bakers everywhere. It’s familiar, comforting, and wonderfully reliable. I’ve tried plenty of variations over the years, but I always come back to this one. It’s the pie my family expects, and honestly, it’s the one that never lets me down.
If you’ve ever felt nervous about making pumpkin pie from scratch, this recipe is the perfect place to start. We’re keeping everything simple, clear, and beginner-friendly. No complicated techniques. No unnecessary steps. Just a smooth, gently spiced filling, a flaky crust, and a pie that slices beautifully every time.
If you grew up with pumpkin pie at every holiday table, chances are it was this one. Let’s make it together — the easy, dependable way.
Why Libby’s Pumpkin Pie Recipe Works So Well
There’s a reason this recipe has been trusted for generations. It’s not trendy or overcomplicated — it’s balanced, tested, and dependable.
Here’s why it works so consistently:
- Perfectly balanced spices that enhance the pumpkin without overpowering it
- Libby’s 100% Pure Pumpkin has a thick, smooth texture that sets beautifully
- Simple measurements that are easy to follow and hard to mess up
- Reliable results whether you’re a beginner or an experienced baker
- Familiar flavor that feels nostalgic and comforting
Unlike many modern recipes that add extra ingredients or steps, this one stays true to what pumpkin pie should be. It’s classic for a reason — it just works.
🥧 Libby’s Pumpkin Pie Recipe Made Simple
Recipe Overview
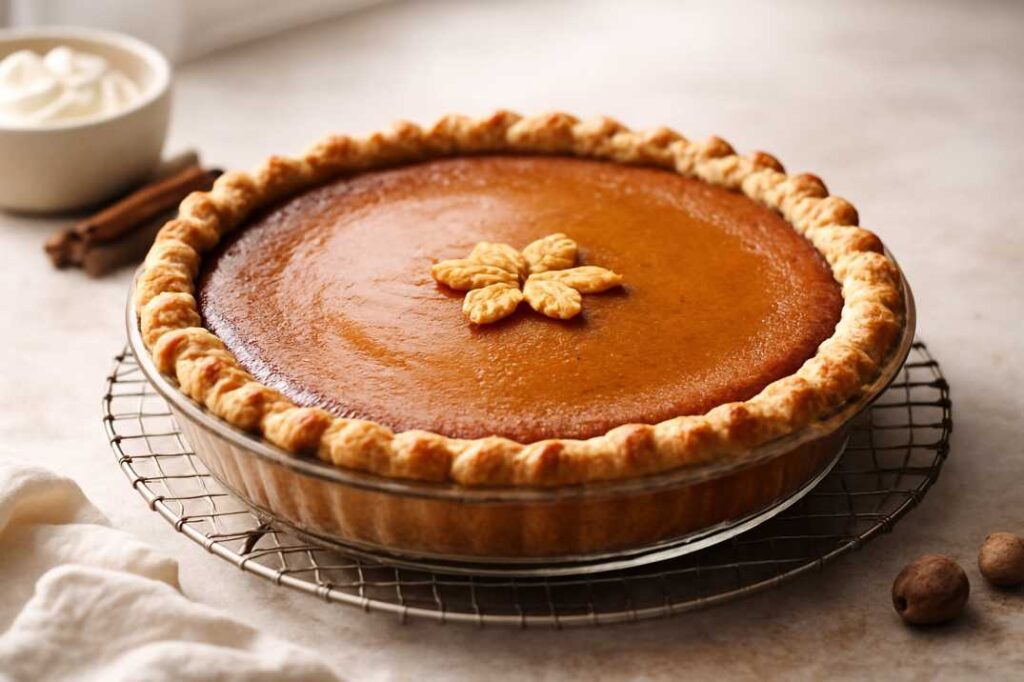
This Libby pumpkin pie has a creamy, custard-like filling that’s smooth and rich without being heavy. The warm blend of cinnamon, ginger, and cloves creates that unmistakable holiday flavor, while the pumpkin shines through in every bite.
Once cooled, the pie slices cleanly and holds its shape, making it perfect for holiday gatherings, potlucks, and family dinners. It’s exactly what most people picture when they think of a classic pumpkin pie recipe.
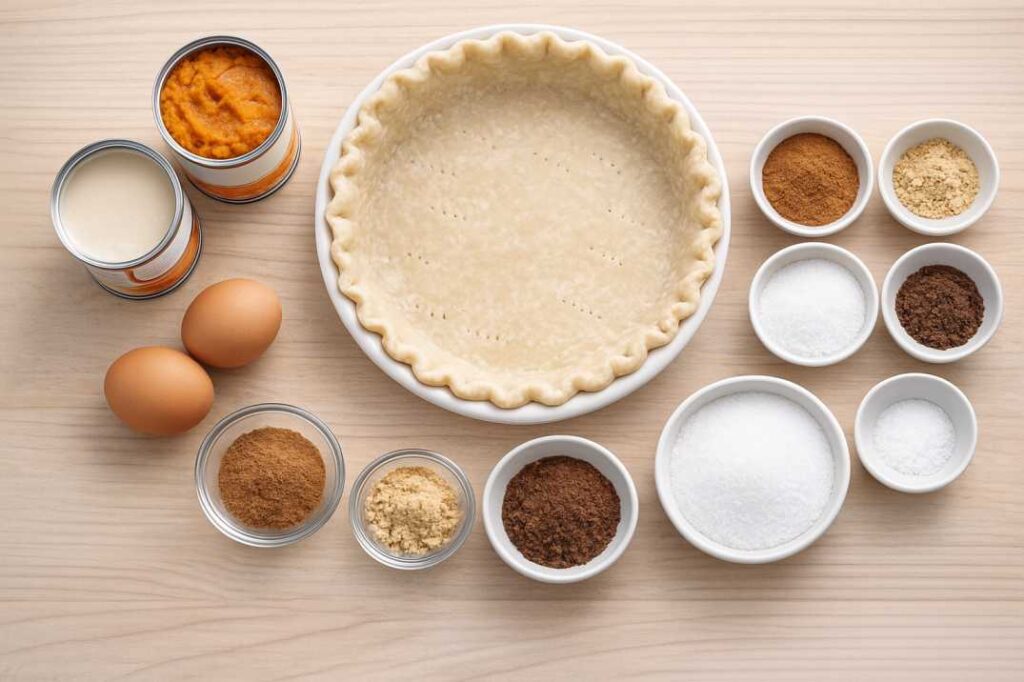
Ingredients
Filling
- 1 (15 oz) can Libby’s 100% Pure Pumpkin
- 1 (12 oz) can evaporated milk
- 2 large eggs
- ¾ cup granulated sugar
- 1 teaspoon ground cinnamon
- ½ teaspoon ground ginger
- ¼ teaspoon ground cloves
- ½ teaspoon salt
Crust
- 1 unbaked 9-inch pie crust (store-bought or homemade)
Ingredient Notes & Helpful Tips
- Why evaporated milk?
Evaporated milk creates a smooth, creamy texture without making the filling too rich. Regular milk is too thin, and heavy cream can make the pie dense. - Why Libby’s pumpkin matters:
Libby’s pumpkin is made from a specific variety of squash that’s naturally smoother and thicker than many other canned pumpkins. This consistency helps prevent watery filling. - Eggs:
Eggs bind the filling and help it set into that soft custard texture pumpkin pie is known for. - Crust choice:
A store-bought crust works perfectly here, especially during busy holiday baking days. If you prefer homemade, that works too — just keep it unbaked.
Step-by-Step Instructions (Very Clear & Beginner-Friendly)
1. Preheat the Oven
Preheat your oven to 425°F (220°C). Place an oven rack in the center position.
Starting at a higher temperature helps the pie begin setting quickly, which improves texture.
2. Mix the Dry Ingredients
In a large mixing bowl, whisk together:
- Sugar
- Cinnamon
- Ginger
- Cloves
- Salt
This step ensures the spices are evenly distributed and prevents clumping later.
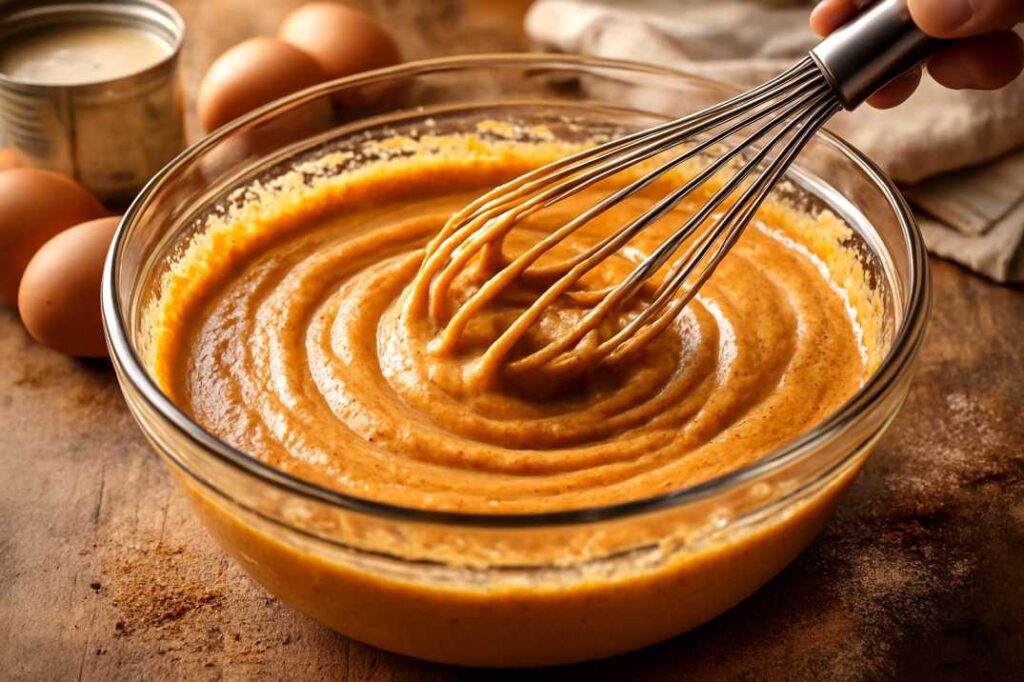
3. Add Pumpkin, Eggs & Milk
Add the pumpkin purée to the bowl and stir until smooth.
Beat in the eggs one at a time, mixing gently. Slowly stir in the evaporated milk until the mixture is fully combined.
Here’s where most people get stuck — don’t overmix. Stir just until everything comes together. Overmixing can lead to cracks later.
4. Pour the Filling Into the Crust
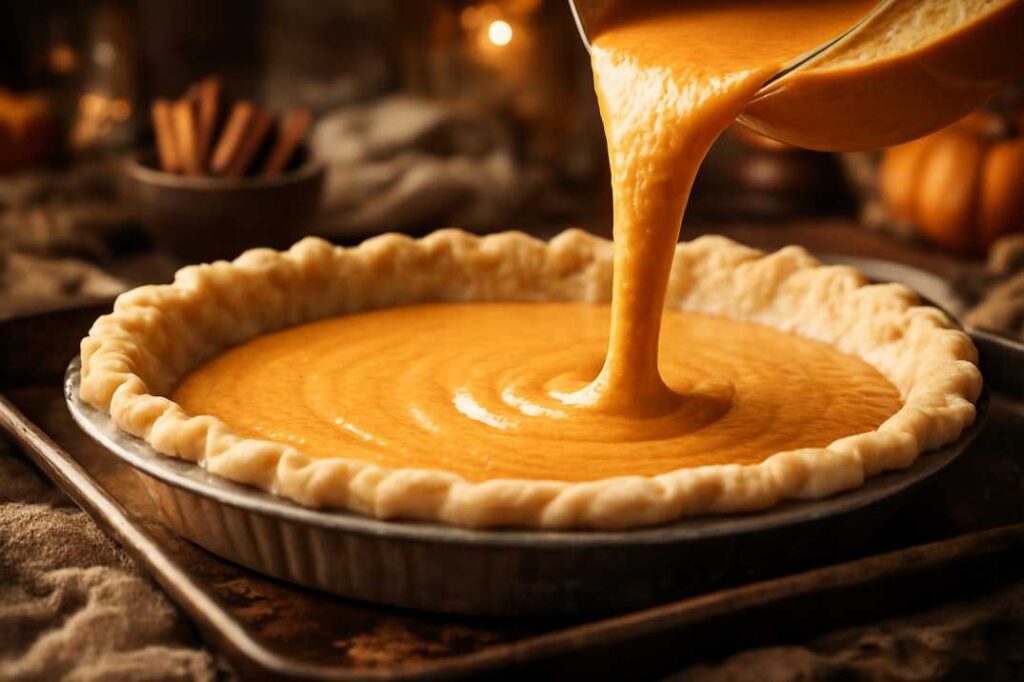
Place your unbaked pie crust on a baking sheet for stability.
Carefully pour the filling into the crust. The pie will be quite full, which is exactly how it should be.
5. Bake Using Libby’s Two-Temperature Method
- Bake at 425°F for 15 minutes
- Reduce the oven temperature to 350°F (175°C)
- Continue baking for 40–50 minutes
The pie is done when the edges are set and the center still has a gentle jiggle — similar to gelatin.
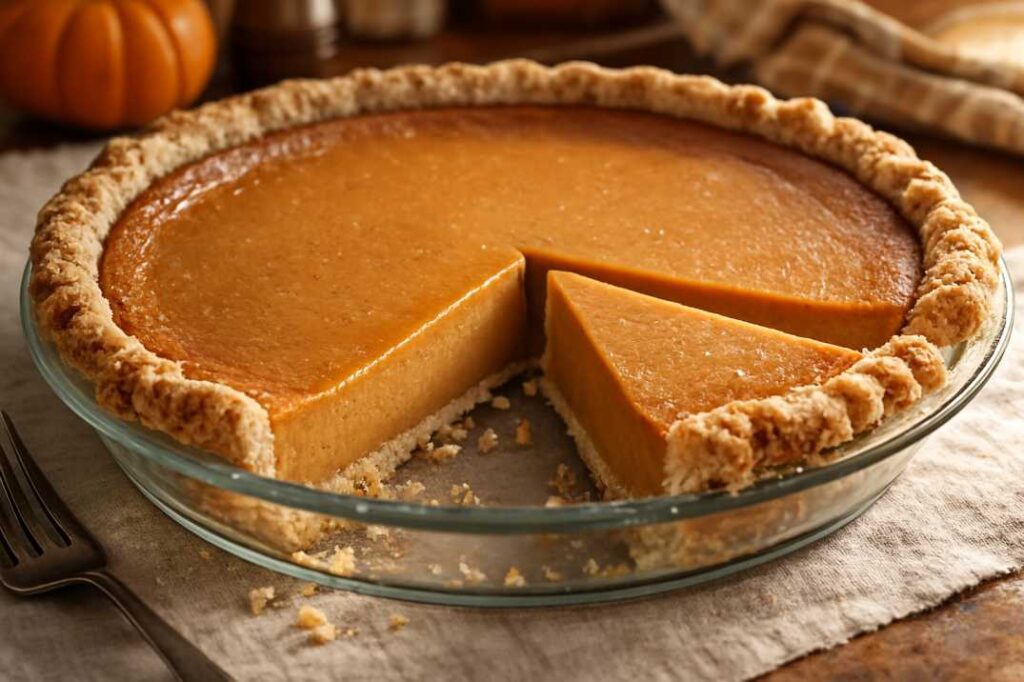
6. Cool Completely Before Slicing
Remove the pie from the oven and place it on a wire rack.
Allow it to cool for at least 2 hours. This cooling time allows the filling to fully set and ensures clean, beautiful slices.
Tips for a Perfect Libby’s Pumpkin Pie
These simple tips make all the difference:
- Don’t overbake. A slightly wobbly center is exactly what you want.
- Use room-temperature eggs for smoother blending.
- Avoid overmixing to prevent cracks.
- Shield the crust edges with foil if they brown too quickly.
- Bake on the center rack for even heat distribution.
- Let the pie cool fully before cutting.
Pumpkin pie is forgiving, but these small details help it turn out perfect every time.
Common Mistakes to Avoid
Even experienced bakers run into these occasionally:
- Using pumpkin pie filling instead of pumpkin purée
- Baking until the center is completely firm
- Skipping the cooling time
- Overmixing the batter
- Cutting the pie while it’s still warm
If your pie has cracked or turned watery in the past, one of these was likely the cause.
Make-Ahead, Storage & Freezing Tips
Pumpkin pie is one of the most make-ahead-friendly desserts, which is a lifesaver during the holidays.
- Make ahead: Bake the pie 1–2 days in advance and refrigerate.
- Storage: Keep covered in the refrigerator for up to 4 days.
- Freezing: Fully cooled pumpkin pie can be frozen for up to 1 month.
- Thawing: Thaw overnight in the refrigerator for best texture.
Many people find pumpkin pie tastes even better the next day once the flavors have had time to settle.
Serving Suggestions
This pie is wonderful on its own, but it also pairs beautifully with:
- Fresh whipped cream
- Vanilla ice cream
- A light dusting of cinnamon or nutmeg
Serve it after a holiday meal, bring it to a potluck, or enjoy a slice the next morning with coffee — it’s that kind of pie.
Frequently Asked Questions
Can I use canned pumpkin other than Libby’s?
You can, but the texture may vary. Libby’s pumpkin is thicker and smoother, which helps the pie set properly.
Can I make this pie ahead of time?
Yes — and it’s encouraged. Pumpkin pie is best when made a day ahead.
How do I know when pumpkin pie is done?
The edges should be set, and the center should jiggle slightly when gently shaken.
Why did my pumpkin pie crack?
Cracks usually happen from overbaking, overmixing, or baking at too high a temperature for too long.
Should pumpkin pie be refrigerated?
Yes. Once cooled, pumpkin pie should always be stored in the refrigerator.
Conclusion
There’s a reason Libby’s pumpkin pie recipe has been a holiday staple for decades. It’s simple, dependable, and delivers that classic pumpkin pie flavor every single time. You don’t need special tools or advanced skills — just good ingredients and a little patience.
Whether this is your first pumpkin pie or your fiftieth, this recipe is one you can trust. Save it, bookmark it, and bring it out every holiday season. When you want a homemade pumpkin pie that feels traditional, comforting, and guaranteed to please, this is the one that always delivers.